

Check a customer in with the QR scanner
Scan a customer's Check-In QR from any admin page to check them in, and handle anyone who needs attention.
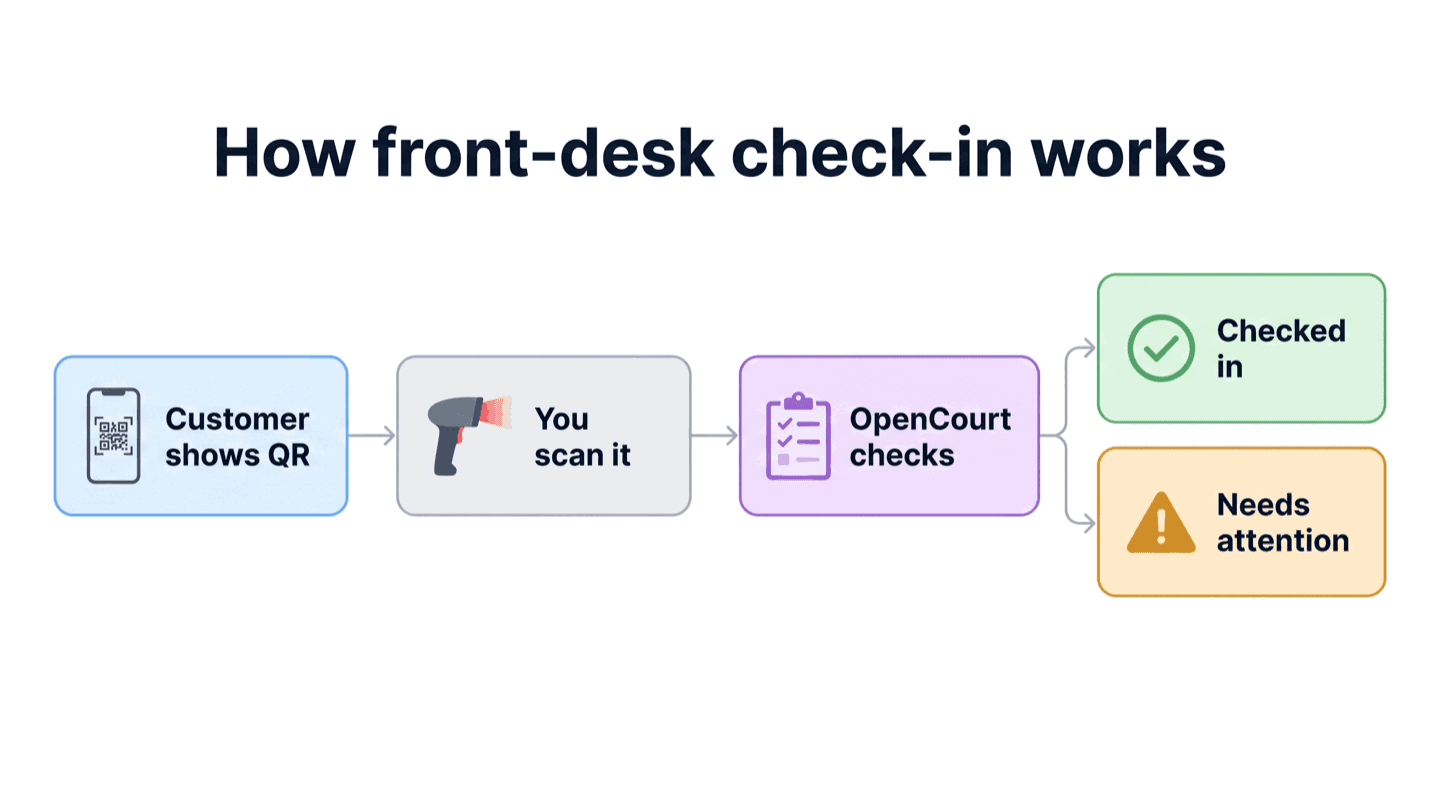
Check a customer in at the front desk by scanning the QR code from their OpenCourt app. (About 2 minutes to set up your scanner; each check-in takes about a second.)
Before you begin
- A USB QR scanner connected to the computer running the admin panel.
- The customer has the OpenCourt app and can open their Check-In QR Code (in the app under My Profile).
Where the customer finds their QR code
The customer opens the OpenCourt app, goes to My Profile, and taps Check-In QR Code. They show that screen to your scanner.
Check a customer in
- Open the admin panel to any page — the Today page is a good home base.
- Point the scanner at the customer's Check-In QR Code and scan. You do not need to open anything first.
- Read the result:
- A green Checked in banner appears at the top of the screen with the customer's name and photo, then clears on its own. They are checked in — wave them through.
- A Scan result window opens showing Needs attention if something needs a look (see below).
What happens next
Every check-in appears in the Check-in panel on your Today page, under Recently checked in, with a badge showing how it happened: QR scanner (you scanned them), Self check-in (they used a self-service QR), or Staff (set by hand). The header shows a running count of how many customers have checked in today.
Handle a customer who needs attention
When the Scan result window shows Needs attention, the reason is listed at the top — for example No booking today, Waiver not signed, or Payment required. The customer also drops into the Needs attention list in the Check-in panel, so they are not lost if the next person scans before you finish.
From the Scan result window you can:
- Check in a booking with one click, or open the status dropdown to set Late arrival, No show, or Not checked in.
- Check in each guest on the booking — every guest has their own Check in button and status dropdown, with their waiver and payment state shown next to their name. Convert turns a name-only guest into a customer account.
- Take photo to capture a check-in photo (upload a file or use the computer's camera).
- Add a note, or open the customer's full record with View profile.
- For someone who is not a customer of this club yet, Add as customer — then their check-in continues.
To come back to someone later, open the Check-in panel on Today: click Resolve on their card to reopen their result, or dismiss the card once they are handled. Anyone who gets checked in — by you or by any other means — clears from Needs attention automatically.
Check someone in early
A scan only checks a customer in automatically once their check-in window opens (a set number of minutes before the booking starts — 180 by default, changed under Settings → Check-in). A booking whose window hasn't opened yet still appears in the Scan result with a Starts in [hours and minutes] countdown — and its Check in button works. If someone arrives early and you want them in, check them in; the window only limits the automatic behavior, never you.
The bookings list is headed [N] bookings today, so when a customer has more than fits on screen — a session now and a reservation tonight — the count tells you to scroll for the rest.
Check a customer in without a scanner
- Click Find Customer at the top of the admin panel.
- Search by name or email and pick the customer.
- Their Scan result window opens — check in their booking or handle whatever needs attention, the same as a scan.
If something goes wrong
- Nothing happens when I scan — make sure the scanner is plugged in, then run the built-in test at Settings → Check-in → Test your scanner; the verdict names the cause and the fix (see Set up the QR scanner). The scanner's suffix setting doesn't matter — Enter, Tab, or none all work.
- The scanner types strange characters — run Settings → Check-in → Test your scanner; a Characters came through garbled verdict means the scanner's keyboard-country setting is mismatched. Set the scanner to a US layout with the configuration barcode in its manual, then test again.
- "Not a customer" for someone who is a member — you may be on the wrong club, or they used a different account. Confirm the club in the top bar, then use Add as customer or Find Customer to locate the right record.
- The customer can't find their QR — it is in the OpenCourt app under My Profile → Check-In QR Code. If they are not on the app, use Find Customer instead.
Related
Check-In & QR Scanner
Check customers in at the door by scanning their QR code, and see who has arrived on your Today page.
Choose a QR scanner for your front desk
Any USB 2D/QR scanner works with OpenCourt check-in — what to look for, the models we recommend, and the one setting to change for a front desk.