

POS & Products
Adding products
You can sell gear, merchandise, or any other items directly through OpenCourt. But first, you’ll need to add them to the platform. Here’s how.
Step-by-Step: Creating a Product
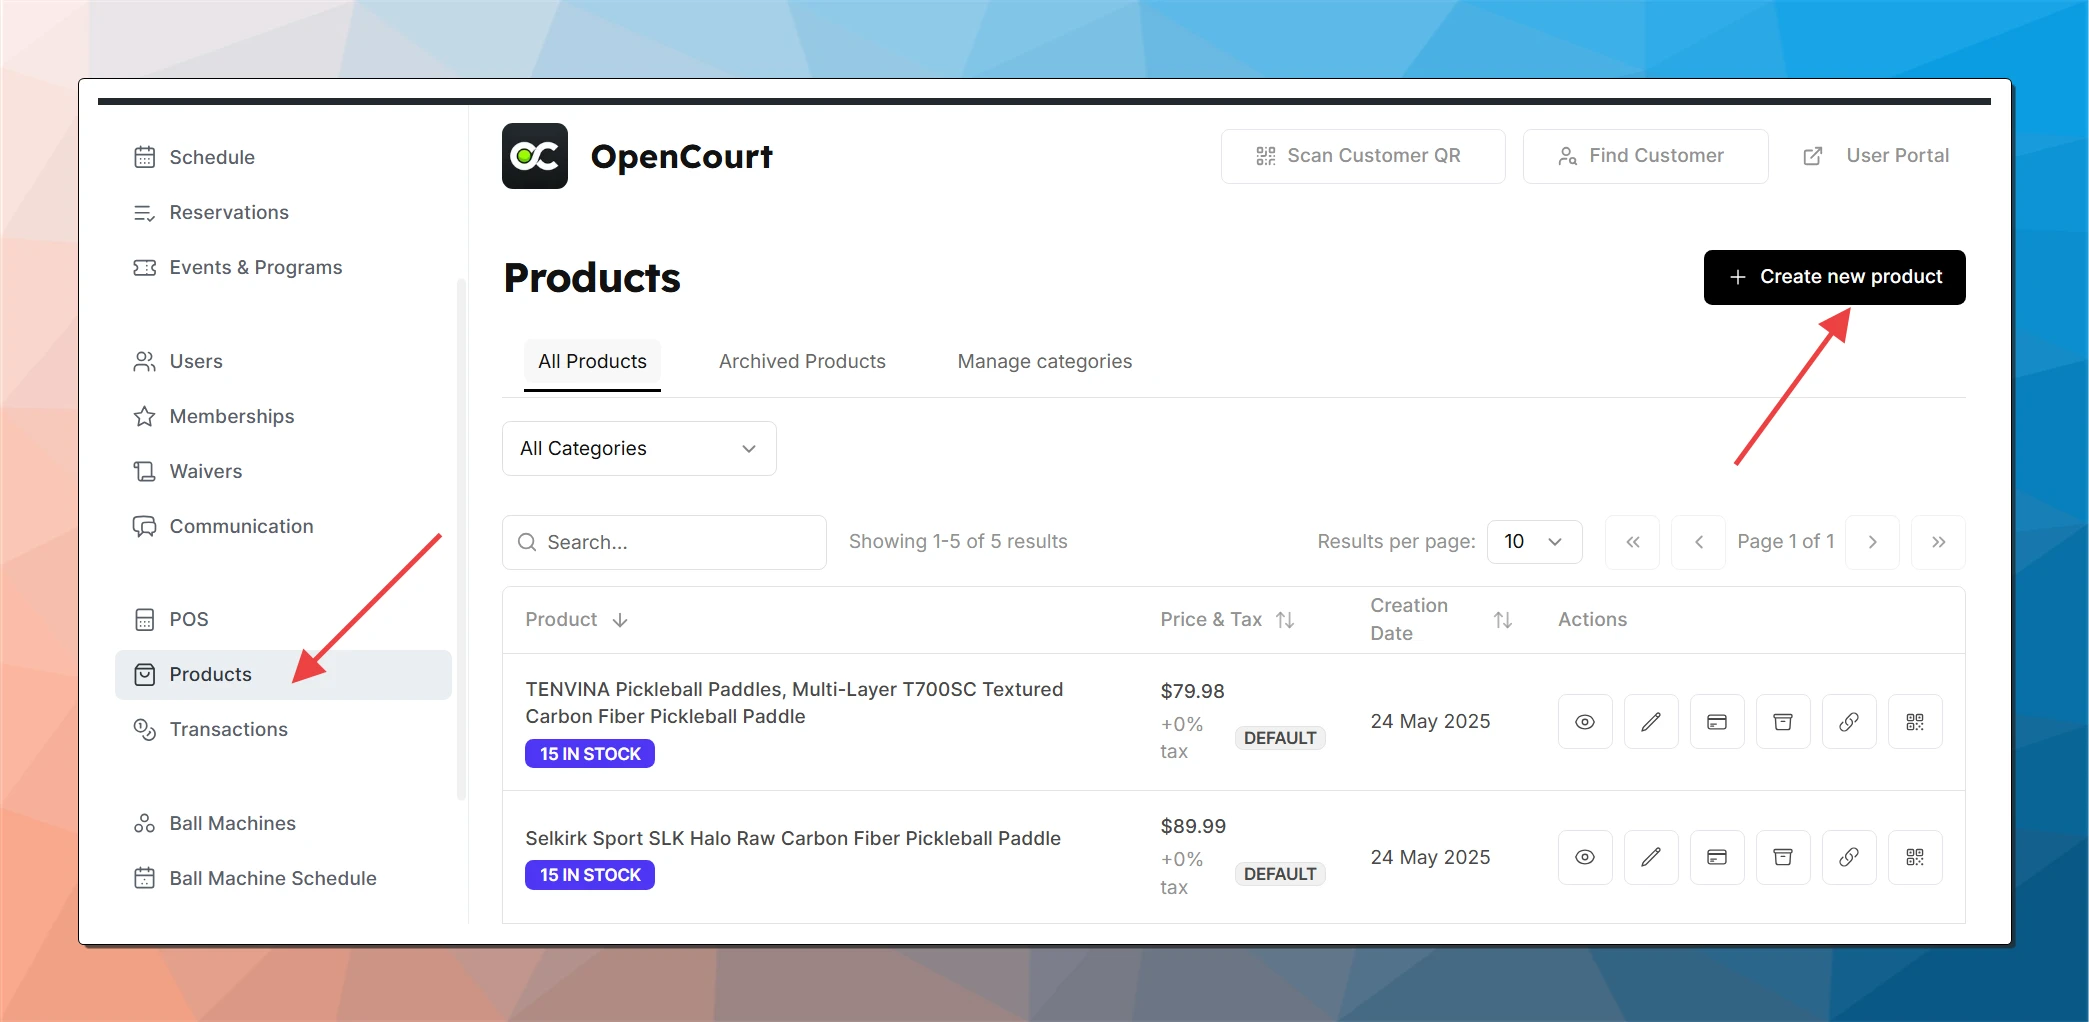
- Go to the Products Tab
- From your admin dashboard, navigate to “Products” tab
- Click “Create New Product.”
- Fill in Product Details
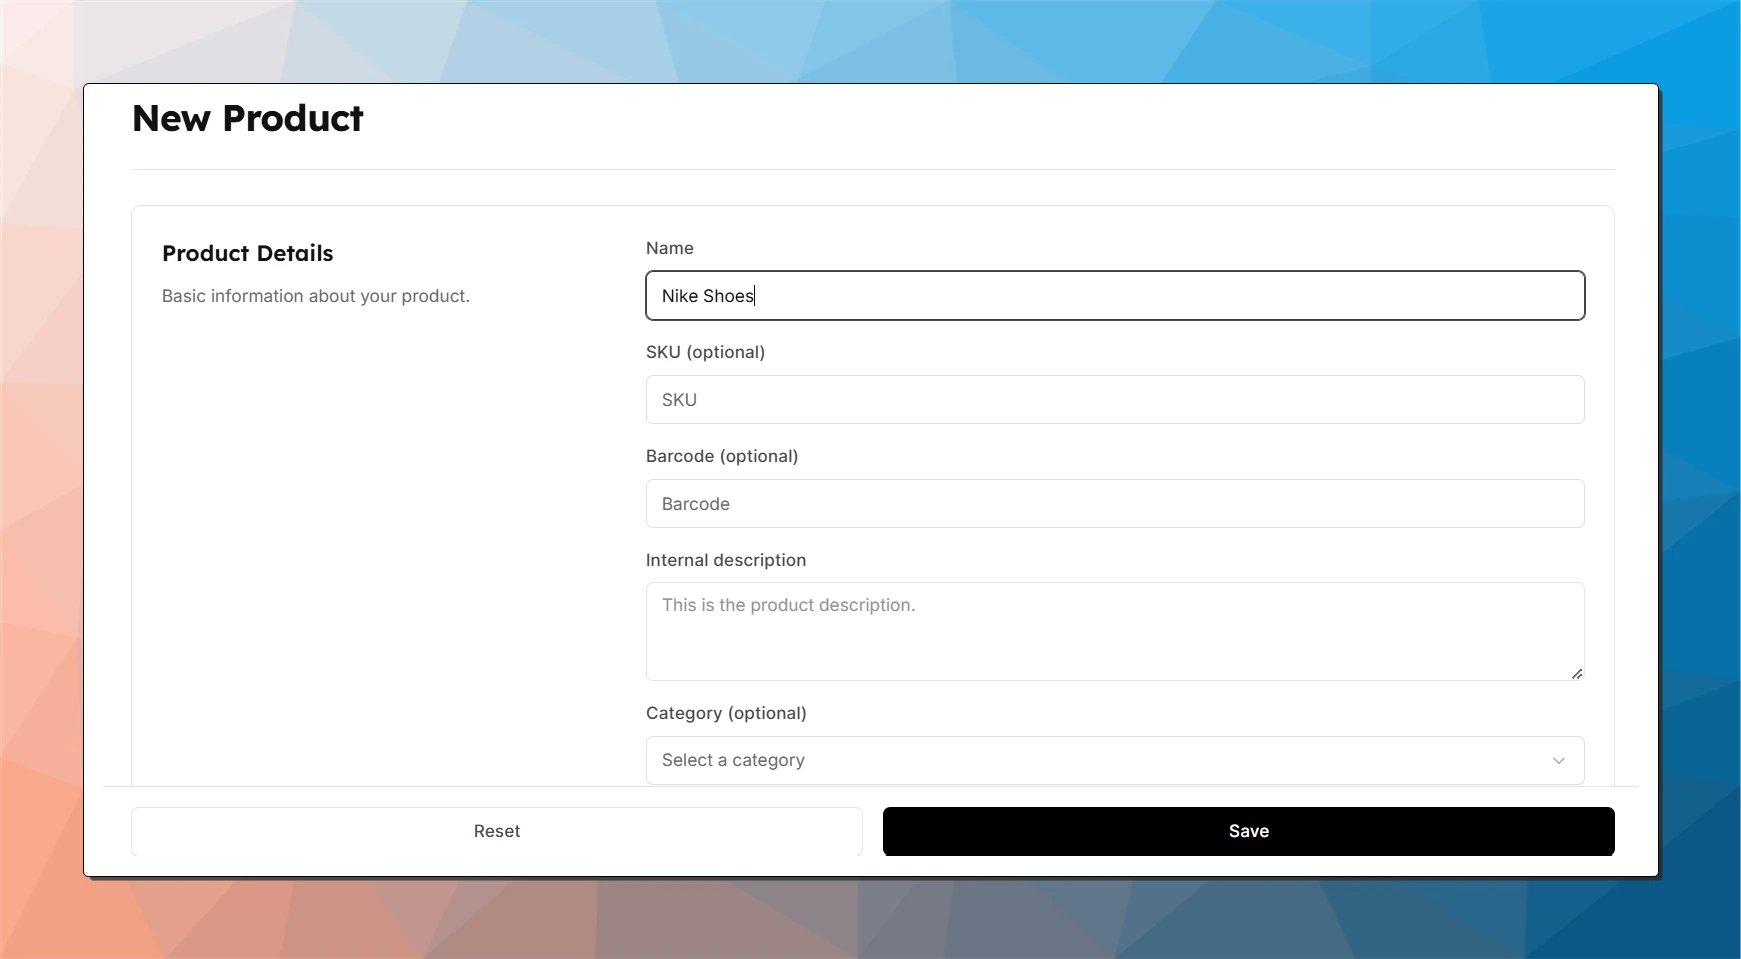
- Name: This is the product name your customers will see (e.g., Paddle).
- Category: Assign the product to an existing category (e.g. Gear)
- Manage categories separately (below)
- Price: Set the retail price for the product.
- Sales Tax: (optional) You can change to a custom tax rate. Otherwise, the default club tax will be applied.
- Quantity (optional): Use this if you want to track inventory.
- Description (optional): Appears on the payment page if selling via link.
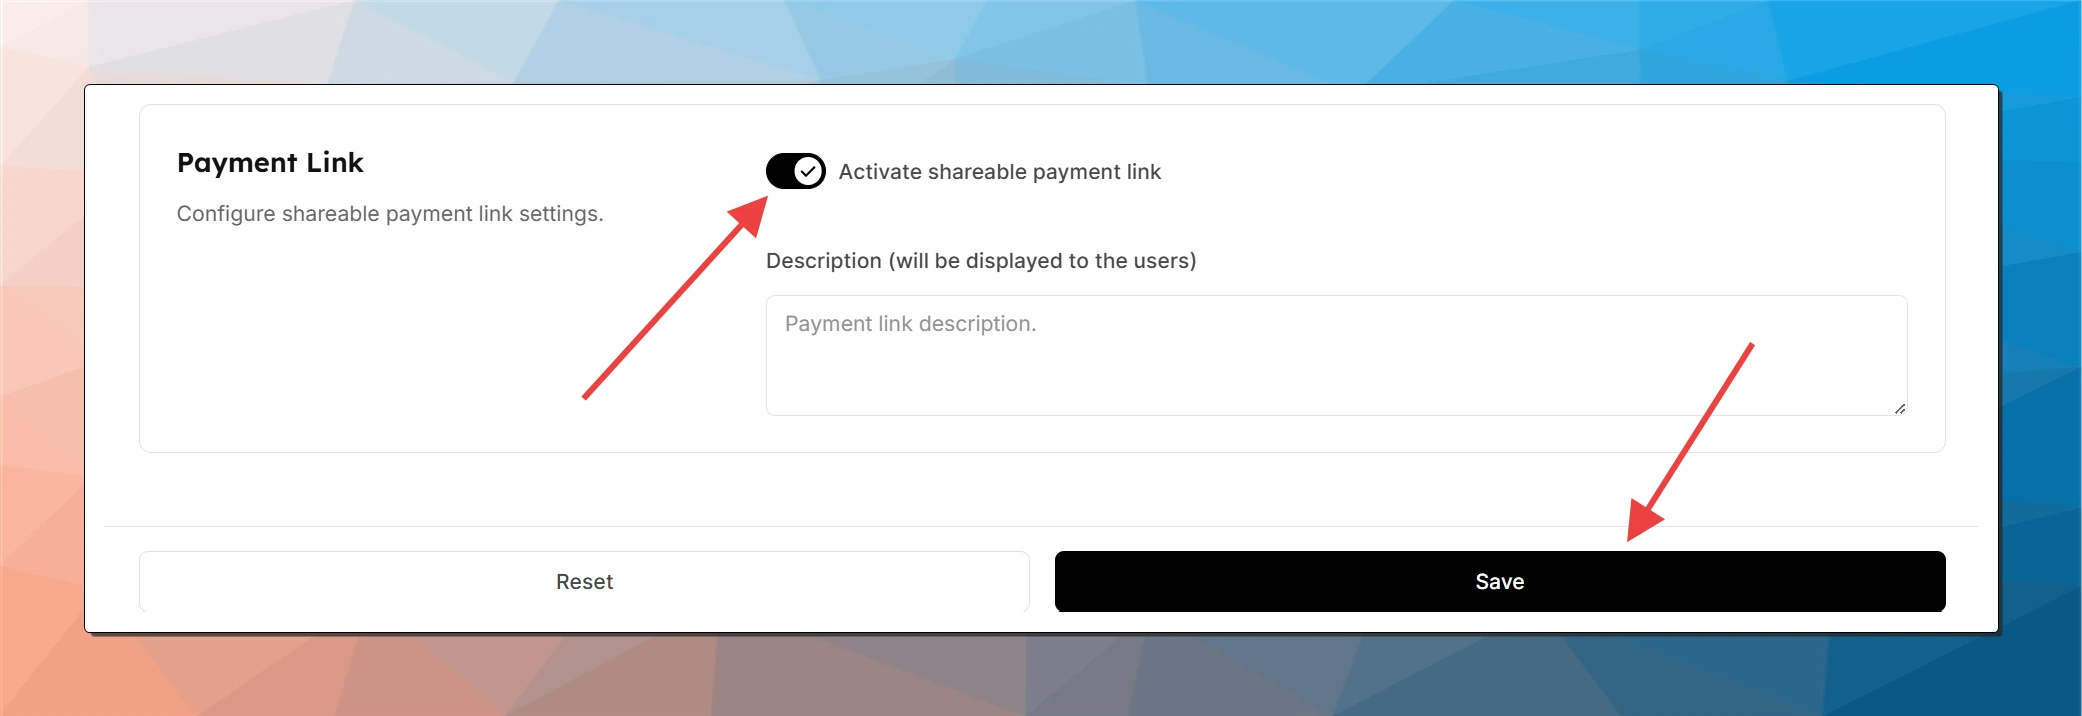
- Activate the Payment Link (Optional)
- Turn this on if you want people to be able to buy the product via a direct link or QR code.
- After activation, you’ll be able to:
- Copy the product link - you can send it to a customer, they can pay from their phone
- Download or print a QR code - a customer can scan it, and pay from they phone
- Save the product
- Once all required fields are completed, save the product. It will now appear in your All Products list.
📁 Managing Categories
- Go to Products tab > Manage Categories to add, rename, or delete categories.
- You cannot delete a category if it still has products assigned to it.
Tips
- Descriptions are helpful for customer clarity.
- You can always come back and edit a product later.